Create a stored recipient
Use Stored recipients to save and reuse recipient details when making multiple payments.
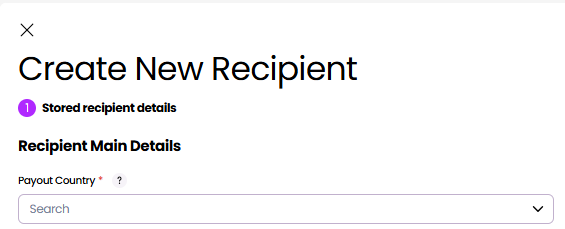
Recipient Main Details
Enter the basic financial details, including the payout country and currency, and how the recipient receives the funds.
-
On the Recipients page, select Create recipient.
-
Select the Payout Country, where the receiving account is located. This controls which payment methods are available. For example, postal cheque is US only.
-
Select the Payout Currency, which is the currency that the recipient is paid in.
-
Select the Payment Method, which is how the recipient will receive their money.
The fields on the screen update dynamically based on the destination country and payment method you select.
Recipient Details
Specify the email address where the recipient will receive their secure payment link.
- Select the Recipient type, either Business or Person, based on the recipient's account type.
- Enter the recipient's name and contact details.
- Enter the Recipient Reference, which is the reference that appears on the recipient's bank statement.
- Enter the Account Details, which will dynamically change according to what is required for the selected payment method.
- If prompted, enter the recipient's passphrase, which they will use to access the payment link.
- Select Next.
Review
Review the payment details before submitting. If you need to make changes, use the payment journey at the top of the screen to return to the relevant step.
- Check that all details are correct.
- Select Create to create the recipient.
- Alternatively, to edit a section, cancel the Review Details, then make your changes.
Updated 2 months ago